The process of weaving on our Hattersley Domestic Weaving system.
Weaving a length of fabric on an antique cast iron loom does not just happen over night, or with the flick of a switch - it is a lengthy process in which the weaver must engage totally, otherwise everything is liable to 'turn to custard'!
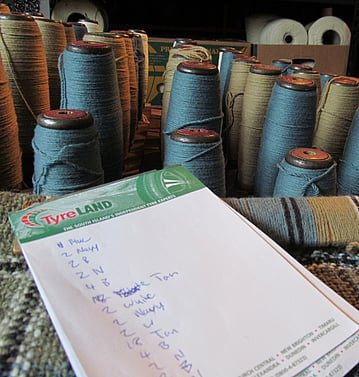
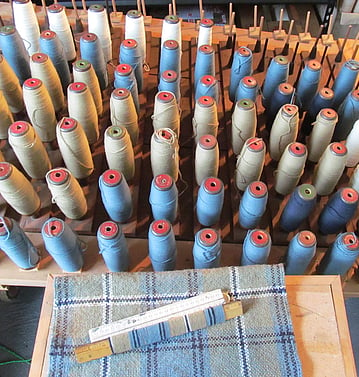
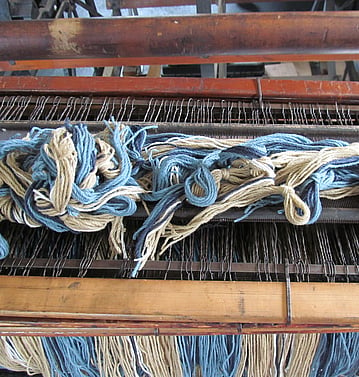
First you need to know what you are going to weave - the purpose of the fabric, the kind of and weight of wool you will need, the design, the pattern, the colours, where you can get the yarn from, where you can get it dyed, the finished length of fabric, how much yarn you will need - there is a lot to think about before you even start to weave. Then the yarn is wound onto the wooden bobbins using the bobbin winder, and set up in the correct order on the warping frame. Each thread is then threaded through individual loops on the frame, and then through the warping mill reed in the correct order.
Once that is sorted, the warp is wound onto the warping mill - in 2,3 or 4 inch segments depending on how fine the yarn is. Before the winding on begins you have to know the finished length of fabric you want to weave is, plus extra for shrinkage and wastage, and convert it to imperial measurement - metres to yards. Then you start winding the handle to turn the drum - but before you begin you have to make sure the counter is set at 000000, otherwise you won't wind the same length on every time and there will be big problems later!

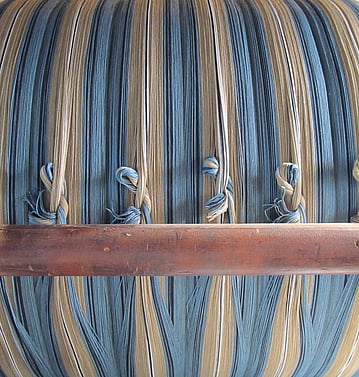
It is important to insert the 'cross' with the round dowels at this stage. This is to keep the threads separate when you come to thread them through the heddles on the shafts later on.
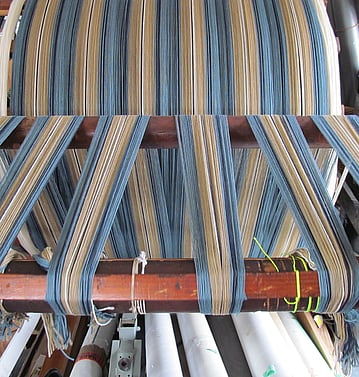
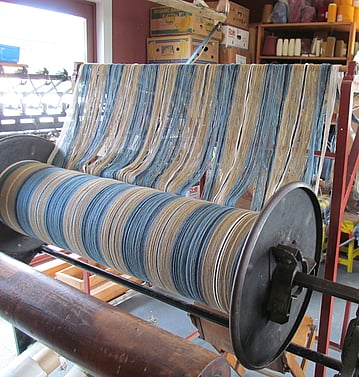
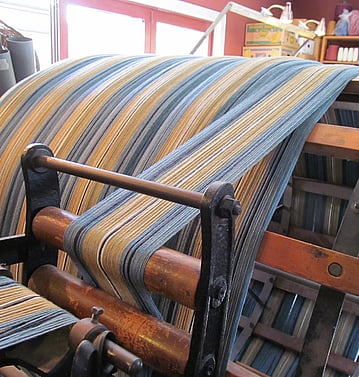
Once all the warp yarn is wound onto the warping mill drum it all has to get wound off it and onto the 'back beam' which fits on behind the loom so you can weave it. This happens by turning another handle.
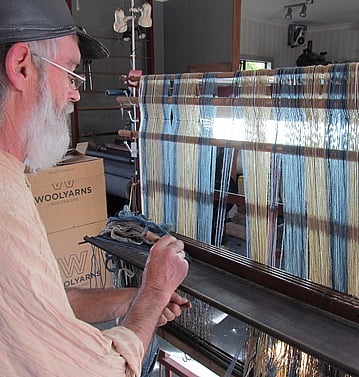
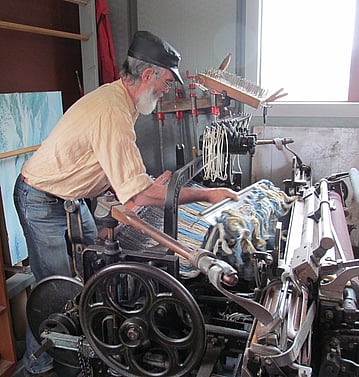

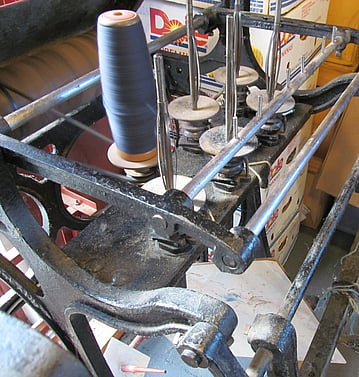
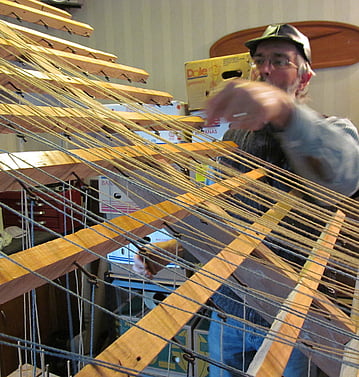
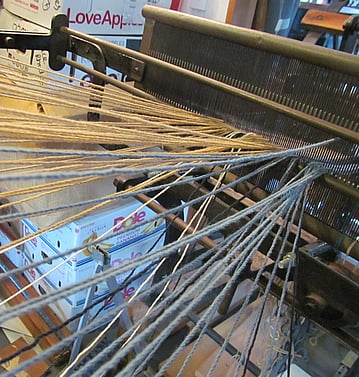
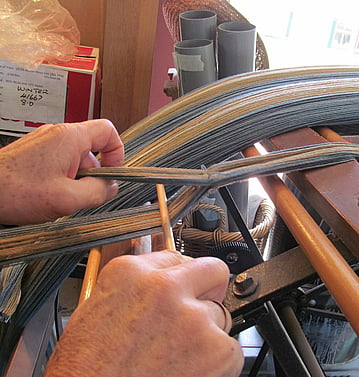
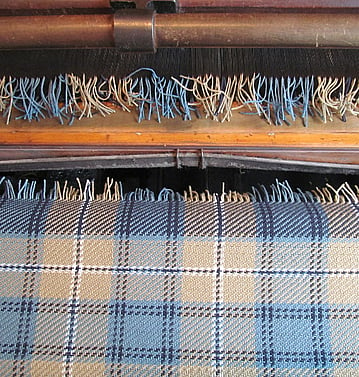
And then you are ready to start threading each of the individual threads through the heddles on the shafts (there can be up to 2400!) This gives you the weave pattern - it might be a twill, or a herringbone or a tabby - there are hundreds of patterns to choose from. Any mistakes here are not good, because if you don't find your mistake before you start weaving it is a huge job to fix it, if you can. Otherwise it has to stay there, and that is not a good look at all.
Once everything is double checked, then each thread is threaded though the reed and the warp is ready to be lifted onto the loom.
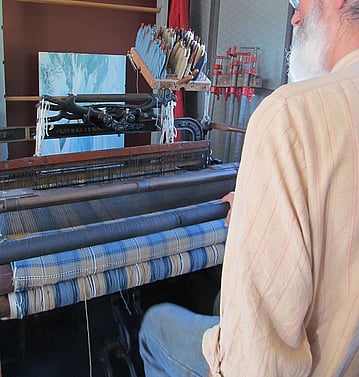

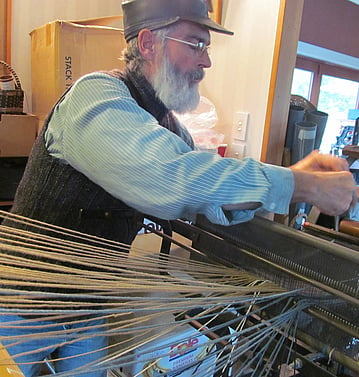
Once Rod starts weaving he has to 'tune' the loom - getting everything balanced and tensioned and the threads flowing smoothly so they won't break. Every warp is different so this is a very important part of the warping up process and can take some time.
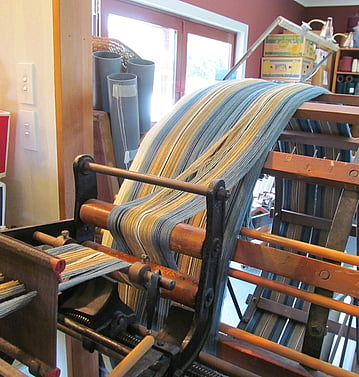
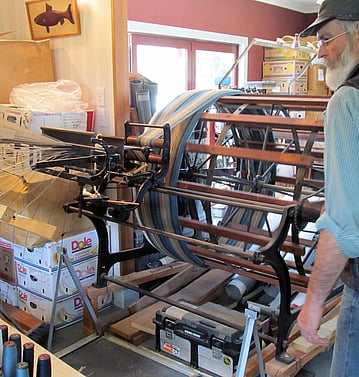
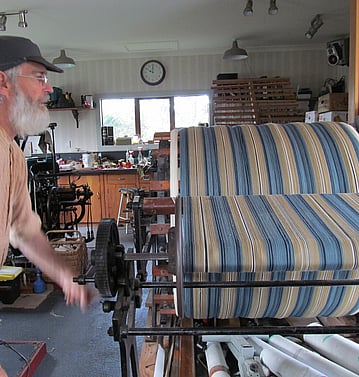
Because these Hattersley Domestic looms were designed to weave commercial lengths of fabric in domestic settings they are pedaled, or treadled. This means long lengths of fabric can be woven faster than on a traditional wooden hand loom, as the shuttle shoots from side to side and the beater moves forwards and backward automatically with each pedal.
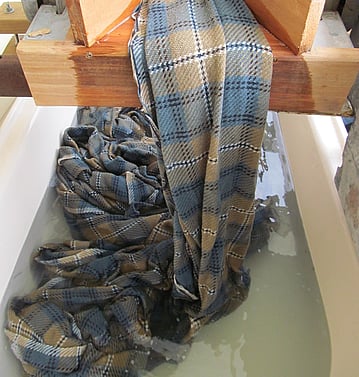
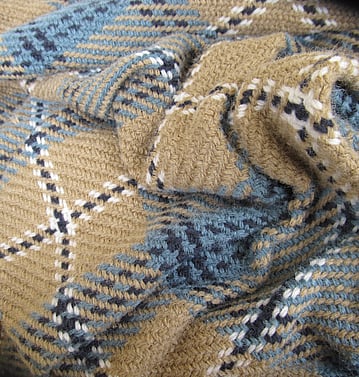
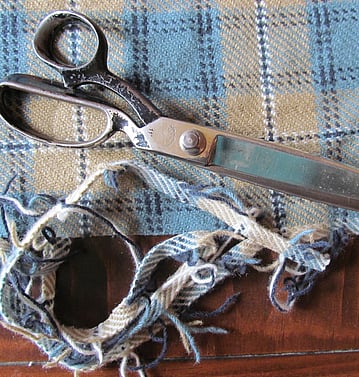
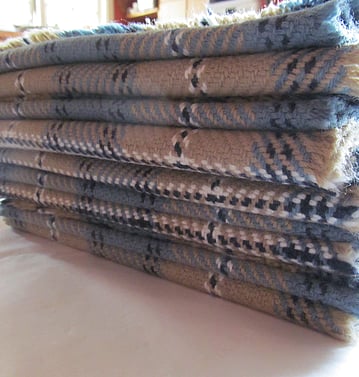
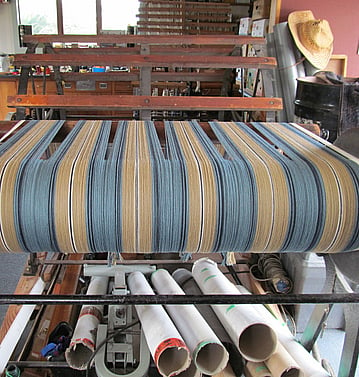
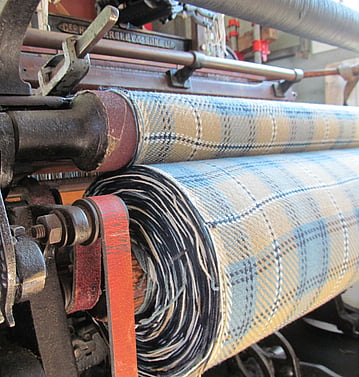
Once you have woven to the end of the warp, the fabric is cut off the loom, then checked and darned before it is 'fulled'. Fulling the fabric is when it is washed in warm, soapy water, then put through a mangle under pressure repeatedly until it looks and feels just right - weavers call this the 'handle' of the fabric. Some yarns full up really quickly, and some don't, so it can take between six and fifty times through the mangle before the fabric has the right handle. Once the fabric is fulled, it is rinsed and spun out in the washing machine. Then it is carefully wound onto a drying drum (which sits in our lounge bay window in the sun) so it can air dry.
Then it is ready to be made up into something gorgeous.
And that is that - ready for the next warp.....